How to Use Arduino for Home Automation: A Practical Guide
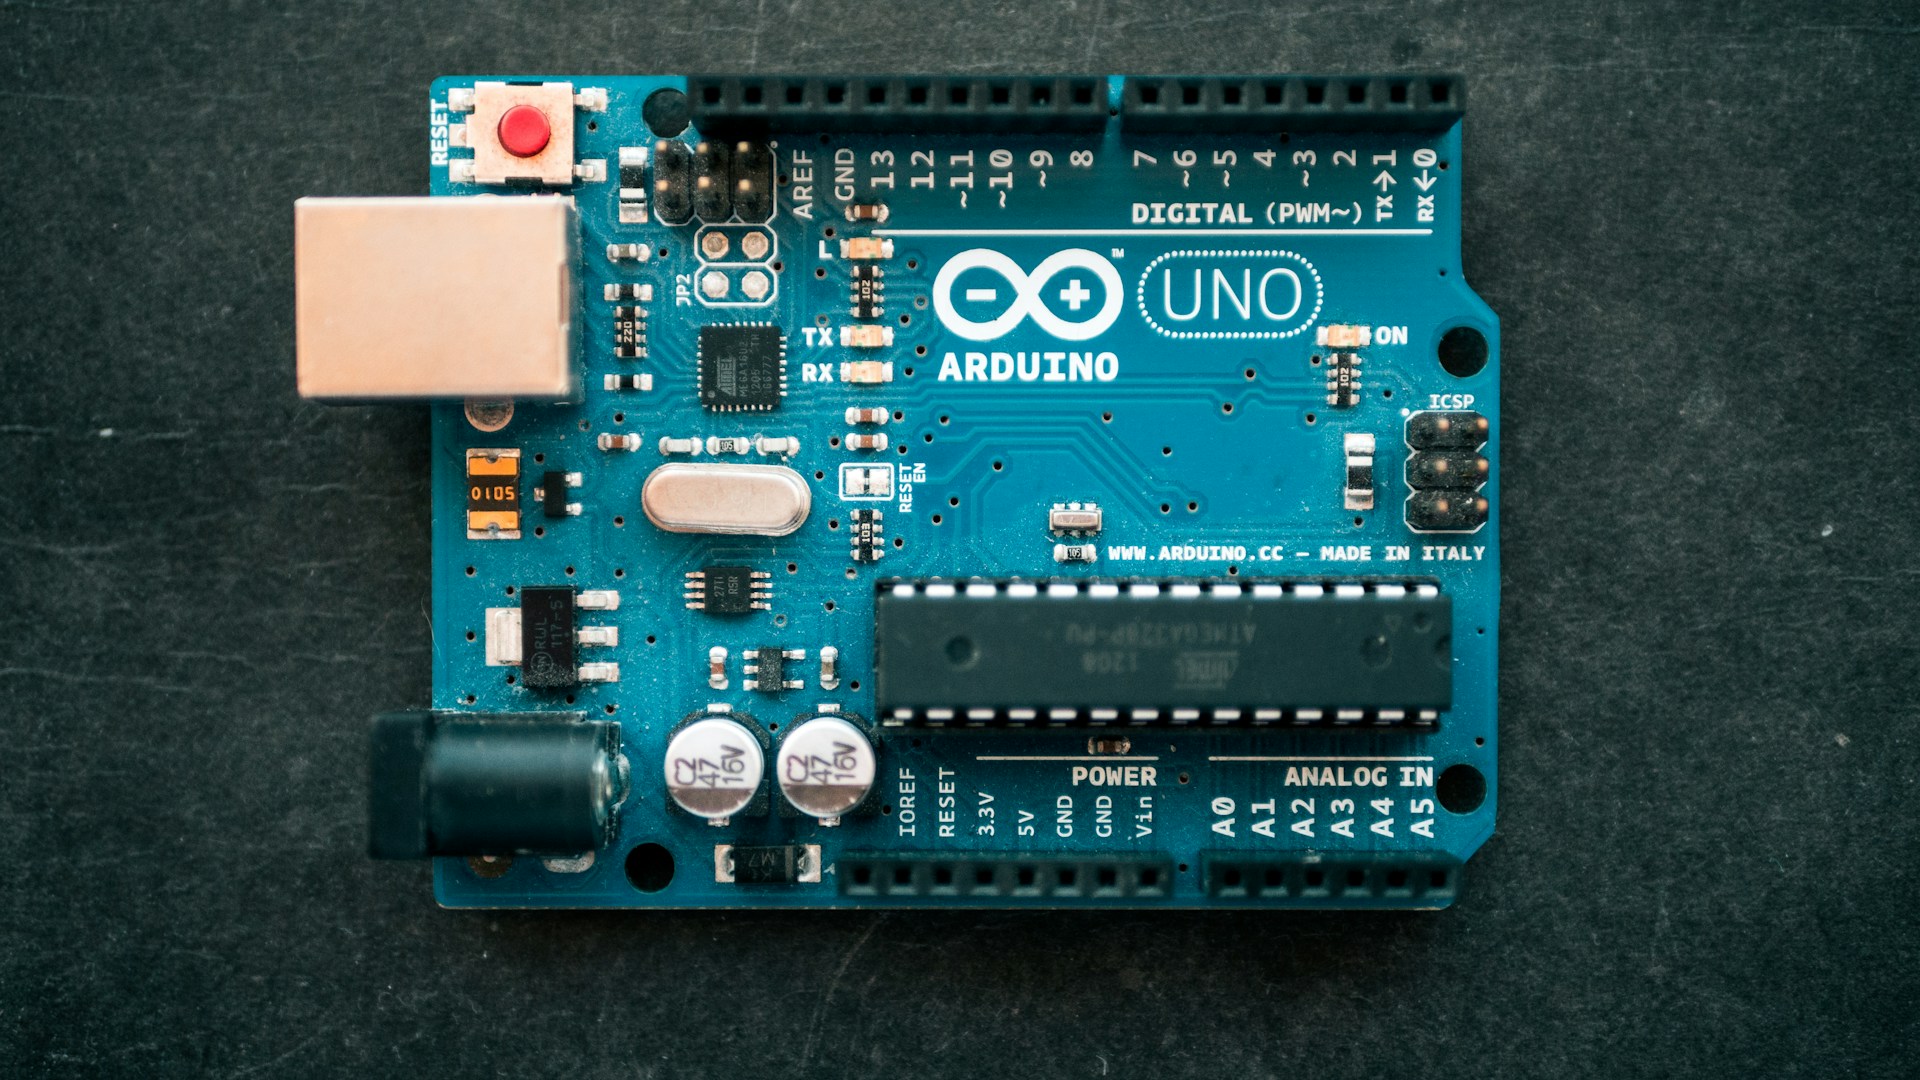
Table of Contents
Home automation can transform your living space into a more sustainable, efficient, and comfortable environment—and using Arduino is one of the most cost-effective ways to achieve this. If you’re looking for a DIY approach that maximizes your eco-friendly living efforts, Arduino offers simple solutions to automate tasks around your home.
Bottom Line
Our pick for beginners in home automation is the Arduino Uno Starter Kit priced around $60, which includes everything you need to get started with projects geared towards sustainability.
Why Use Arduino for Home Automation?
Using Arduino for home automation allows you to customize projects to fit your needs. It provides an open-source hardware platform that is highly versatile and widely documented. You can control lights, monitor temperature, manage appliances, and even water your plants—all from one central hub. Unlike proprietary systems, Arduino gives you the freedom to modify and adapt your devices as technology advances or your needs change.
Essential Components
-
Arduino Board: The Arduino Uno is a popular choice due to its simplicity and functionality. It offers:
- 14 digital input/output pins (of which 6 can be used as PWM outputs)
- 6 analog inputs
- USB interface for programming
- Approximate price: $20
-
Relay Module: To control high-voltage devices (like lights and fans), you’ll need a relay module. The 4-Channel Relay Module costs around $10 and allows you to control multiple devices simultaneously.
-
Temperature and Humidity Sensor: The DHT11 sensor is a reliable and low-cost option for monitoring your environment. Priced around $5, it helps automate heating and cooling systems based on real-time data.
-
Smart Home App/Interface: Consider integrating a web interface or mobile app to manage your devices remotely. The Blynk app allows you to connect to the Arduino via Wi-Fi and is free to use for basic features.
-
Other sensors and modules: Depending on your project, you may also consider motion sensors ($3), light sensors ($3), and temperature controllers ($15).
Setting Up Your Arduino for Home Automation
1. Gather Your Tools
You’ll need:
- An Arduino board (e.g., Arduino Uno)
- Relay module
- Sensors (e.g., DHT11)
- Jumper wires
- Breadboard
- A power supply (USB or battery)
2: Install Arduino IDE
Download and install the Arduino IDE on your computer. This is where you’ll write and upload the code to your Arduino board.
3: Connect Your Components
Using a breadboard, connect your relay module and sensors to the Arduino with jumper wires. Here’s a simple guide:
- For the DHT11 sensor, connect it to one of the digital input pins.
- Connect the relay’s inputs to the Arduino pins that you’ll use to control devices.
- Power everything using USB or an external power supply.
4: Write Your Code
Here’s a very basic snippet to get you started with a temperature-controlled fan:
#include "DHT.h"
#define DHTPIN 2 // the pin where the DHT11 is connected
#define DHTTYPE DHT11
DHT dht(DHTPIN, DHTTYPE);
#define RELAY_PIN 3 // the pin controlling the relay

void setup() {
  Serial.begin(9600);
  dht.begin();
  pinMode(RELAY_PIN, OUTPUT);
}

void loop() {
  float temperature = dht.readTemperature();
  if (temperature > 25) { // Turn on the fan if the room temperature exceeds 25 degrees Celsius
    digitalWrite(RELAY_PIN, HIGH);
  } else {
    digitalWrite(RELAY_PIN, LOW);
  }
  delay(2000); // Read every 2 seconds
}
This code reads temperature data every two seconds and turns a fan on or off based on the temperature, helping you save energy and maintain a comfortable environment.
5: Test Your Setup
Once you’ve uploaded your code, test the setup by varying the room temperature. You should see the fan turn on and off based on the temperature readings.
Advanced Integrations
Once you’re comfortable with basic automation, consider integrating Wi-Fi connectivity. The ESP8266 Wi-Fi Module ($5-$10) allows your Arduino to send and receive data over the internet, enabling you to control your devices remotely.
Comparison Table of Components
| Component | Price | Description |
|---|---|---|
| Arduino Uno | $20 | Basic microcontroller board |
| 4-Channel Relay Module | $10 | Controls high voltage devices |
| DHT11 Sensor | $5 | Monitors temperature and humidity |
| ESP8266 Wi-Fi Module | $5-$10 | Enables internet connectivity |
| Blynk App | Free | Mobile app for remote device management |
Who Should Buy This?
If you’re a DIY enthusiast who enjoys tinkering with technology or someone who prefers customizing your home environment, Arduino for home automation is a perfect fit. Whether you’re looking to automate your lighting, create a smart irrigation system, or monitor air quality, Arduino’s flexibility allows you to bring your unique eco-friendly ideas to life.
Who Should Skip This?
If you’re not comfortable with coding or working with electronics, this DIY route may be overwhelming. Additionally, if you’re looking for a plug-and-play solution without the hassle of setup, you might be better off purchasing a pre-made smart home system, albeit at a higher cost.
Final Recommendation
Using Arduino for home automation not only helps you create an intelligent living space but also reduces your ecological footprint by making your home more energy-efficient. Get started with the Arduino Uno Starter Kit for around $60 to create sustainable solutions that suit your lifestyle. Dive in, experiment, and reap the benefits of both eco-friendly living and innovative technology!